What is Car Detailing & How to Do It Yourself
[AD] This post is for a paid partnership.
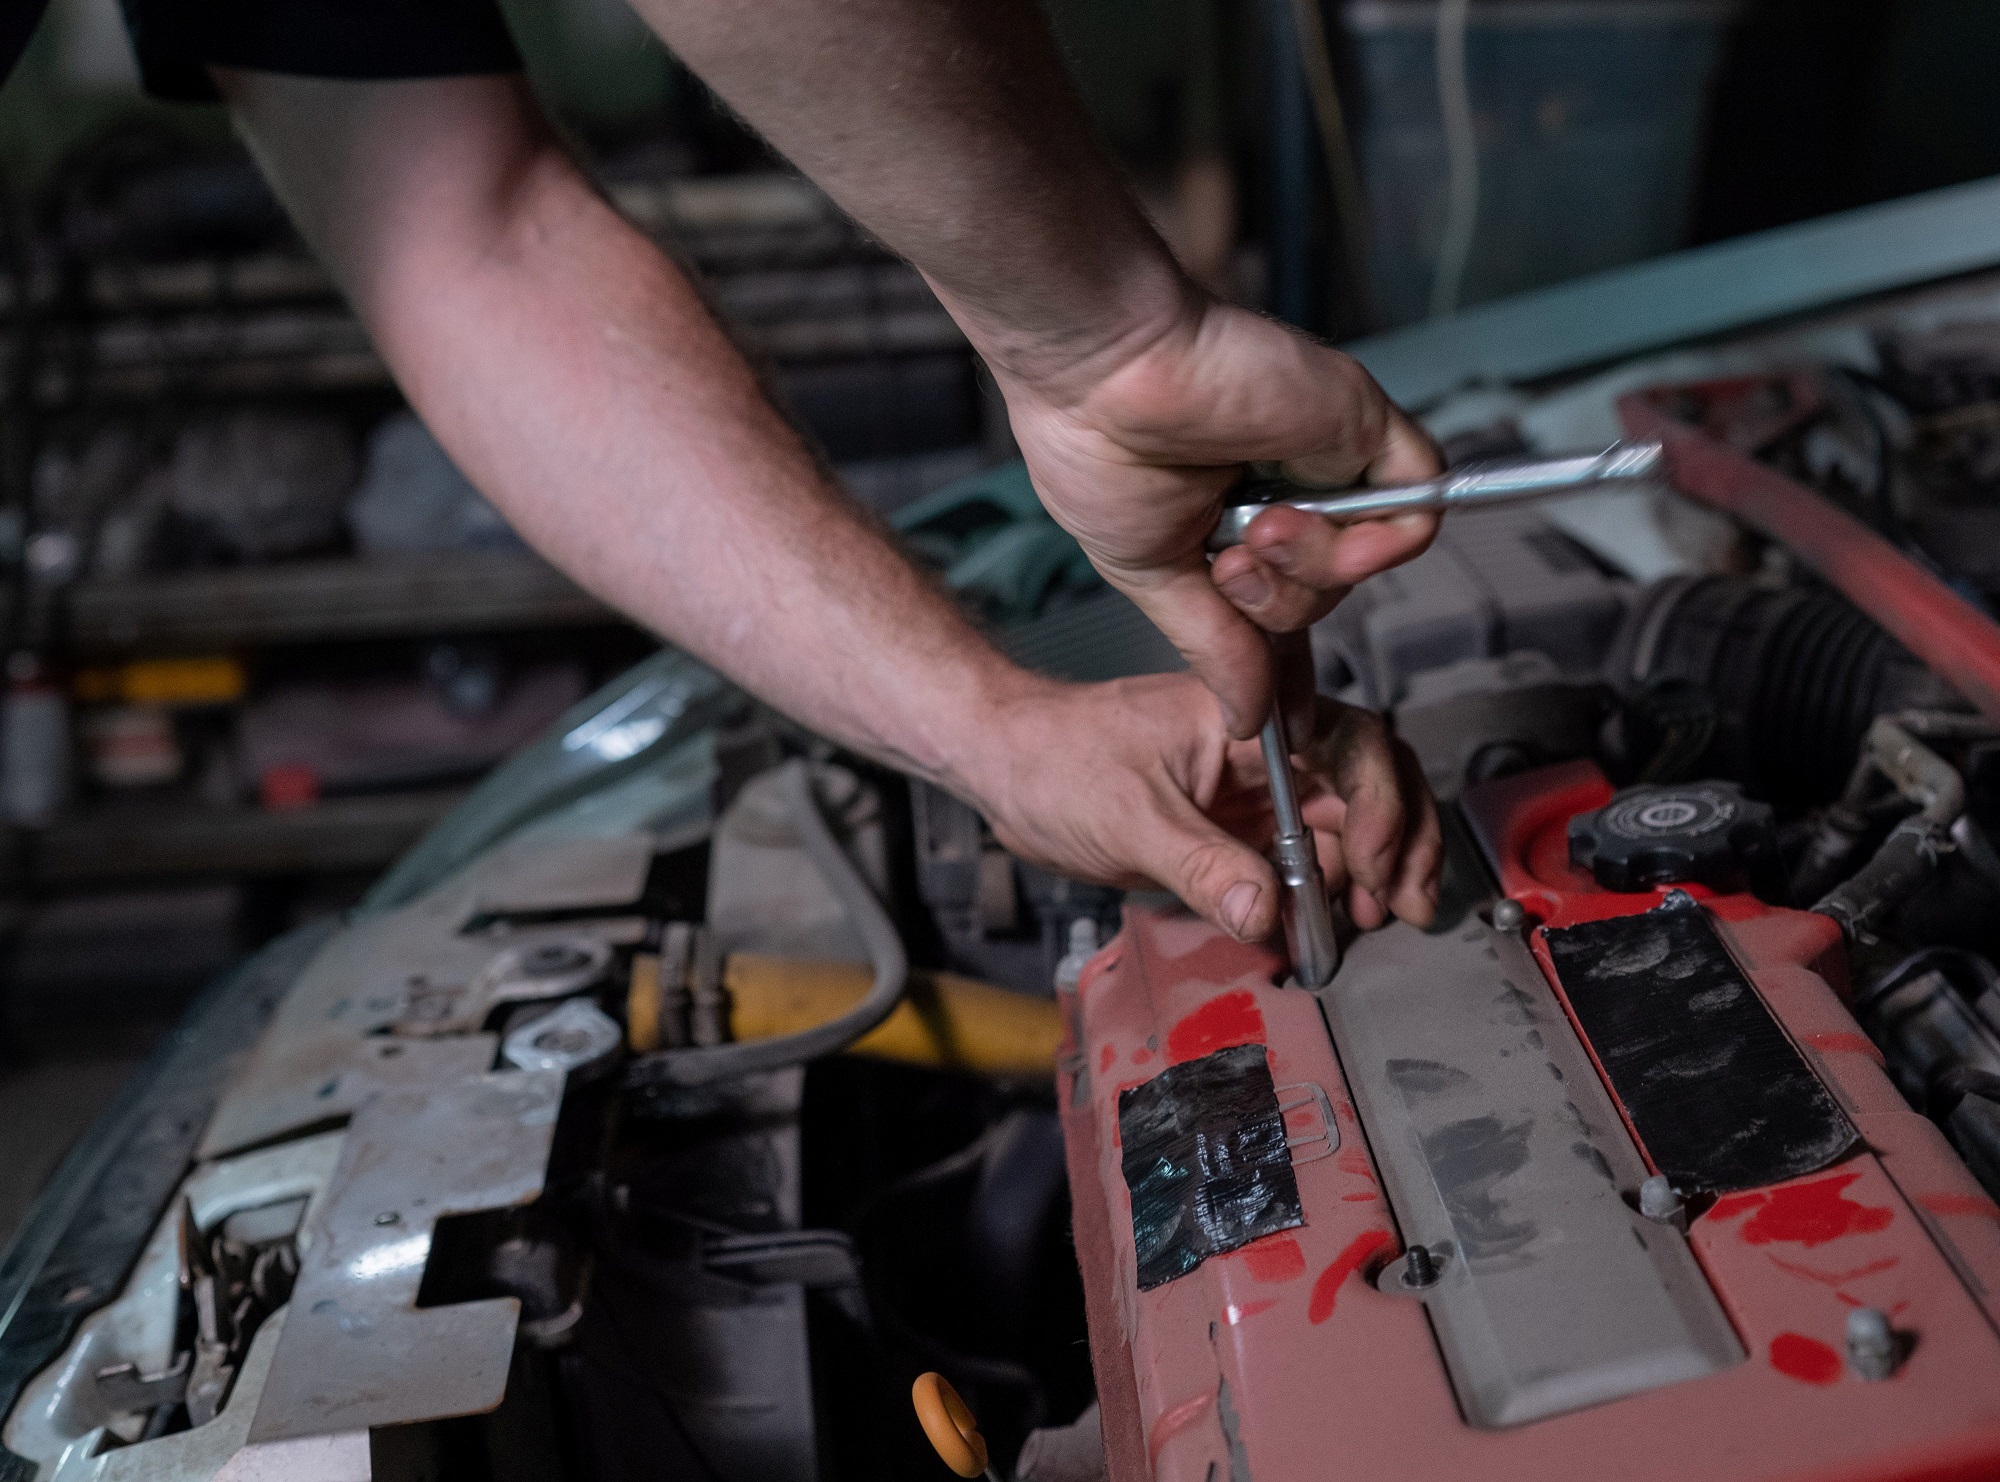
After a long week, the thought of spending your Saturday or Sunday cleaning your car might not seem all that appealing. With lockdowns lifting and the world opening up again, many of us would rather be out enjoying our freedom than scrubbing away in the driveway. But here’s the thing: while it might be tempting to let a professional take care of it, you can achieve that fresh, shiny look on your own with a little effort and the right tools.
So, what is car detailing? It’s more than just a quick wash; it’s a comprehensive cleaning and restoration process that gives your vehicle a showroom shine. And guess what? You don’t need to break the bank at a professional detailing shop to get those results. With the right car detailing products and some TLC, you can transform your vehicle right at home.
Why Car Detailing Matters
You might be wondering if it’s really worth spending a couple of hours detailing your car. Here’s why you should consider it: detailing not only enhances your car’s appearance but also protects its surfaces from UV rays, dirt, and everyday wear and tear. Keeping your car in top shape can help maintain its value, especially if you plan on selling it down the line.
To get the most out of your detailing session, it’s essential to use professional-quality car detailing products and follow a proper sequence. Luckily, we’ve broken down the process into seven easy steps, so you can detail your car like a pro!
7 Steps to Detail Your Car Like a Professional
Step 1 — Start with the Wheels
Wheels can accumulate a lot of grime, so it makes sense to tackle them first. Use a dedicated wheel cleaner to remove brake dust and road dirt. This way, you won’t have to worry about soap drying on your car while you focus on getting those wheels sparkling clean.
Step 2 — Apply the Prewash
Once your wheels are shining, it’s time to move on to the body of the car. The prewash stage is crucial because it breaks down stubborn dirt and grime. Take your time here—thoroughly rinsing off as much dirt as possible will reduce the frequency of future washes!
Step 3 — Snow Foam Application
After the prewash, it’s snow foam time! This thick foam clings to your car and helps lift away any remaining dirt. Using a snow foam lance will ensure an even application, just like the pros use.
Step 4 — Shampooing
Now, grab a high-quality car shampoo (no washing-up liquid, please!) to clean your vehicle thoroughly. A proper car shampoo will protect your paint and provide the best results while leaving your car looking fabulous.
Step 5 — Drying and Decontaminating
After you rinse off the shampoo, it’s crucial to dry your car properly. You might think your car is clean, but some dirt can still cling on. Use a clay bar treatment for decontaminating the surface—it’s well worth the extra time!
Step 6 — Polishing and Waxing
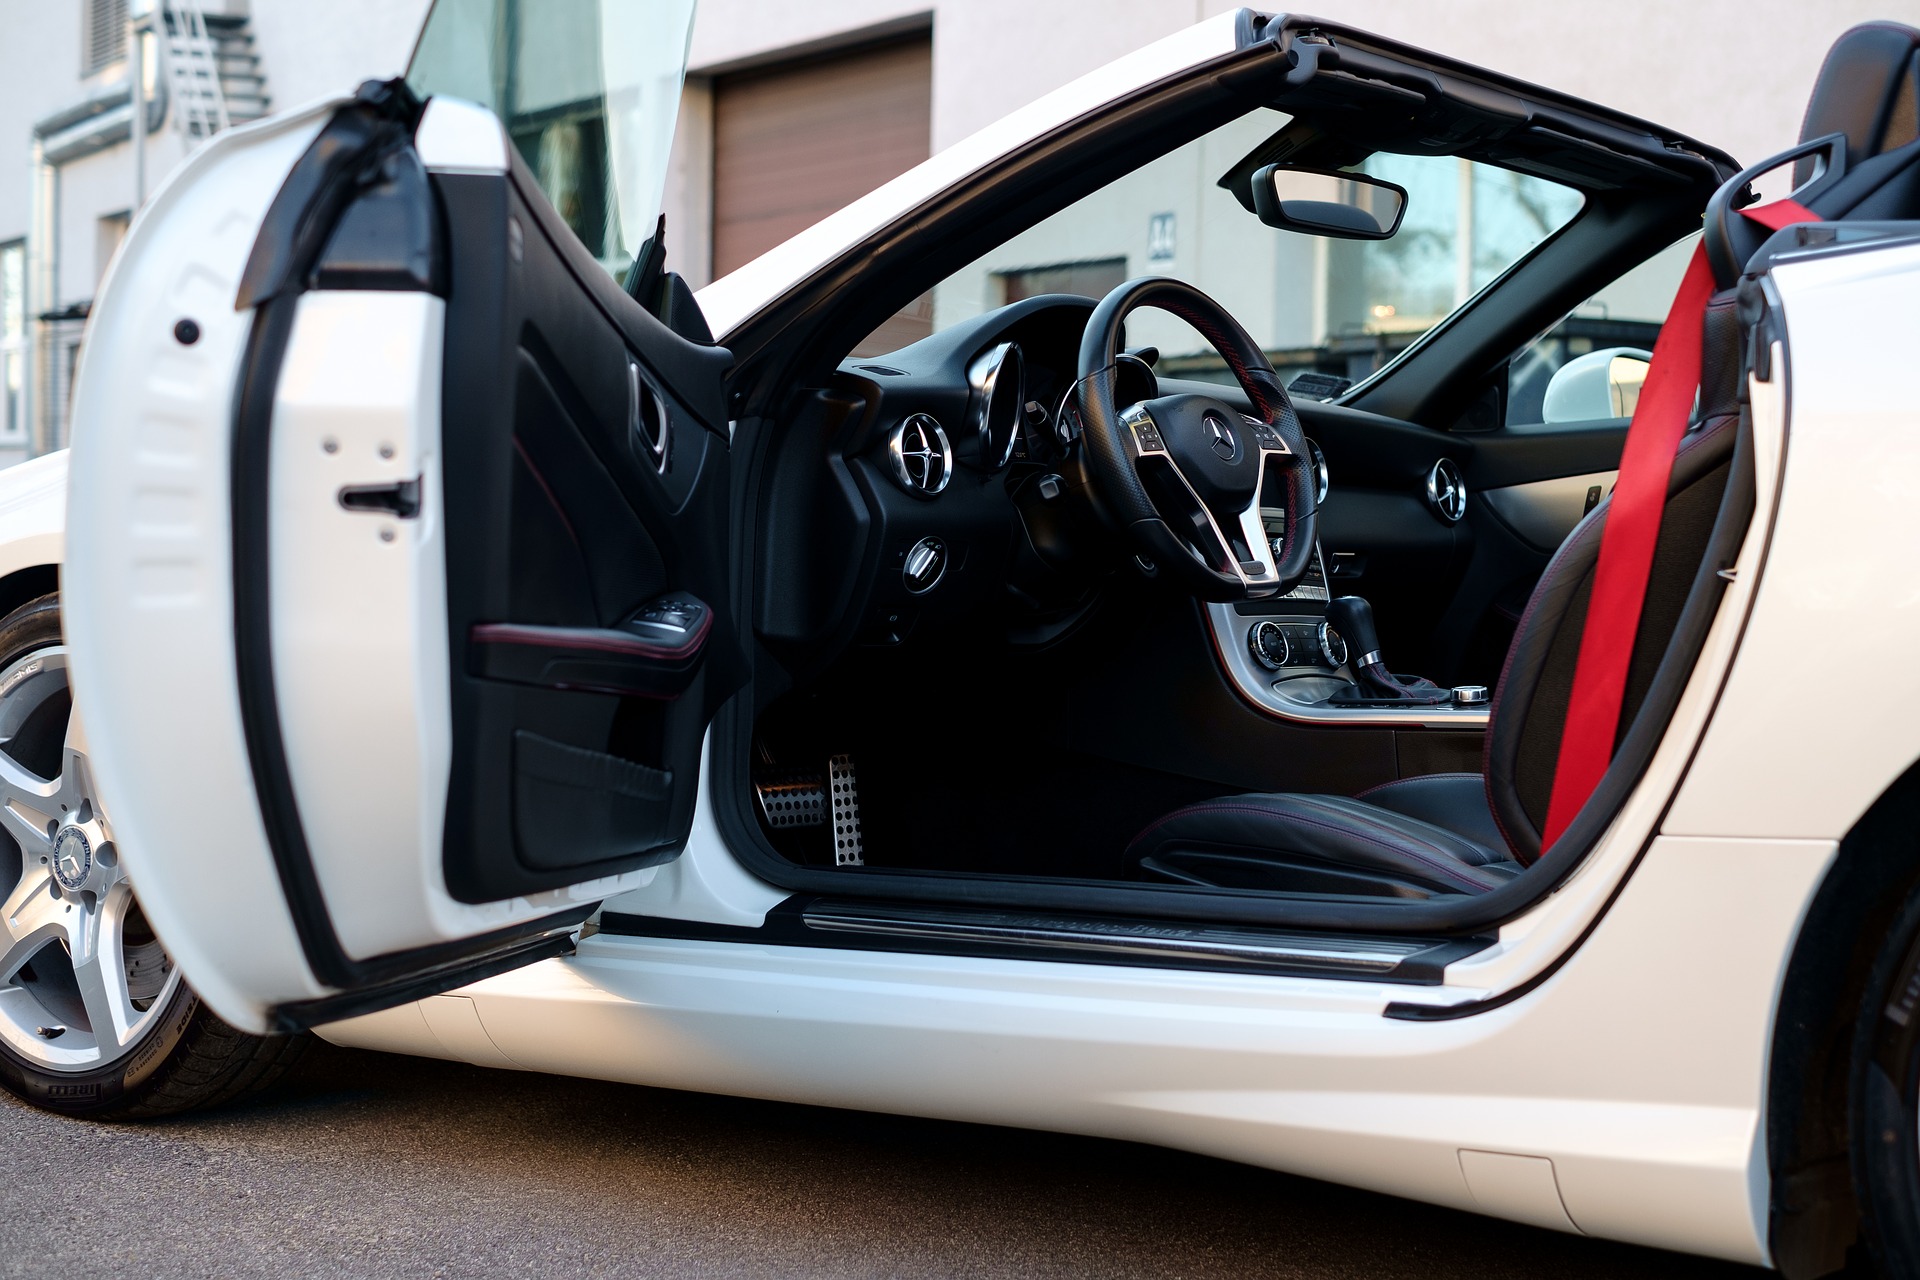
Now that your car is spotless, it’s time to polish and wax. Polishing will eliminate any imperfections in the paint, while waxing adds that glorious shine and provides protection. You might find it hard to resist admiring your reflection in the paint!
Step 7 — Don’t Forget the Interior
Finally, it’s time to give your car’s interior some love. Start by removing any trash, vacuuming, and then use a general-purpose car interior spray for cleaning and UV protection. Don’t forget an air freshener to complete the job!
And there you have it! Once you’ve finished, pack up your supplies and take a moment to admire your hard work. Your car will look as good as new, and you’ll have the satisfaction of knowing you did it yourself.
So the next time you ask, “What is car detailing?” remember that it’s not just about cleaning; it’s about protection and maintaining that shiny finish.
Until next time.


You May Also Like

How to Stay Cool at Night with Elegear Cooling Bedding

Transform Your Garden Space: Enjoy Evenings in Your Outdoor Oasis